Deploy Astro with xCloud and GitHub Automation
A comprehensive guide to deploying your Astro site using xCloud.host with automatic Git deployment.

This guide walks through my preferred workflow for deploying Astro. While xCloud supports both OpenLiteSpeed (OLS) and NGINX, I personally recommend NGINX for Astro projects due to its rock-solid stability and the granular control it offers.
Step 1: Create a New Node.js Site
To build Astro directly on your server, we use the Node.js application type. This ensures the environment has the tools needed to run your build scripts.
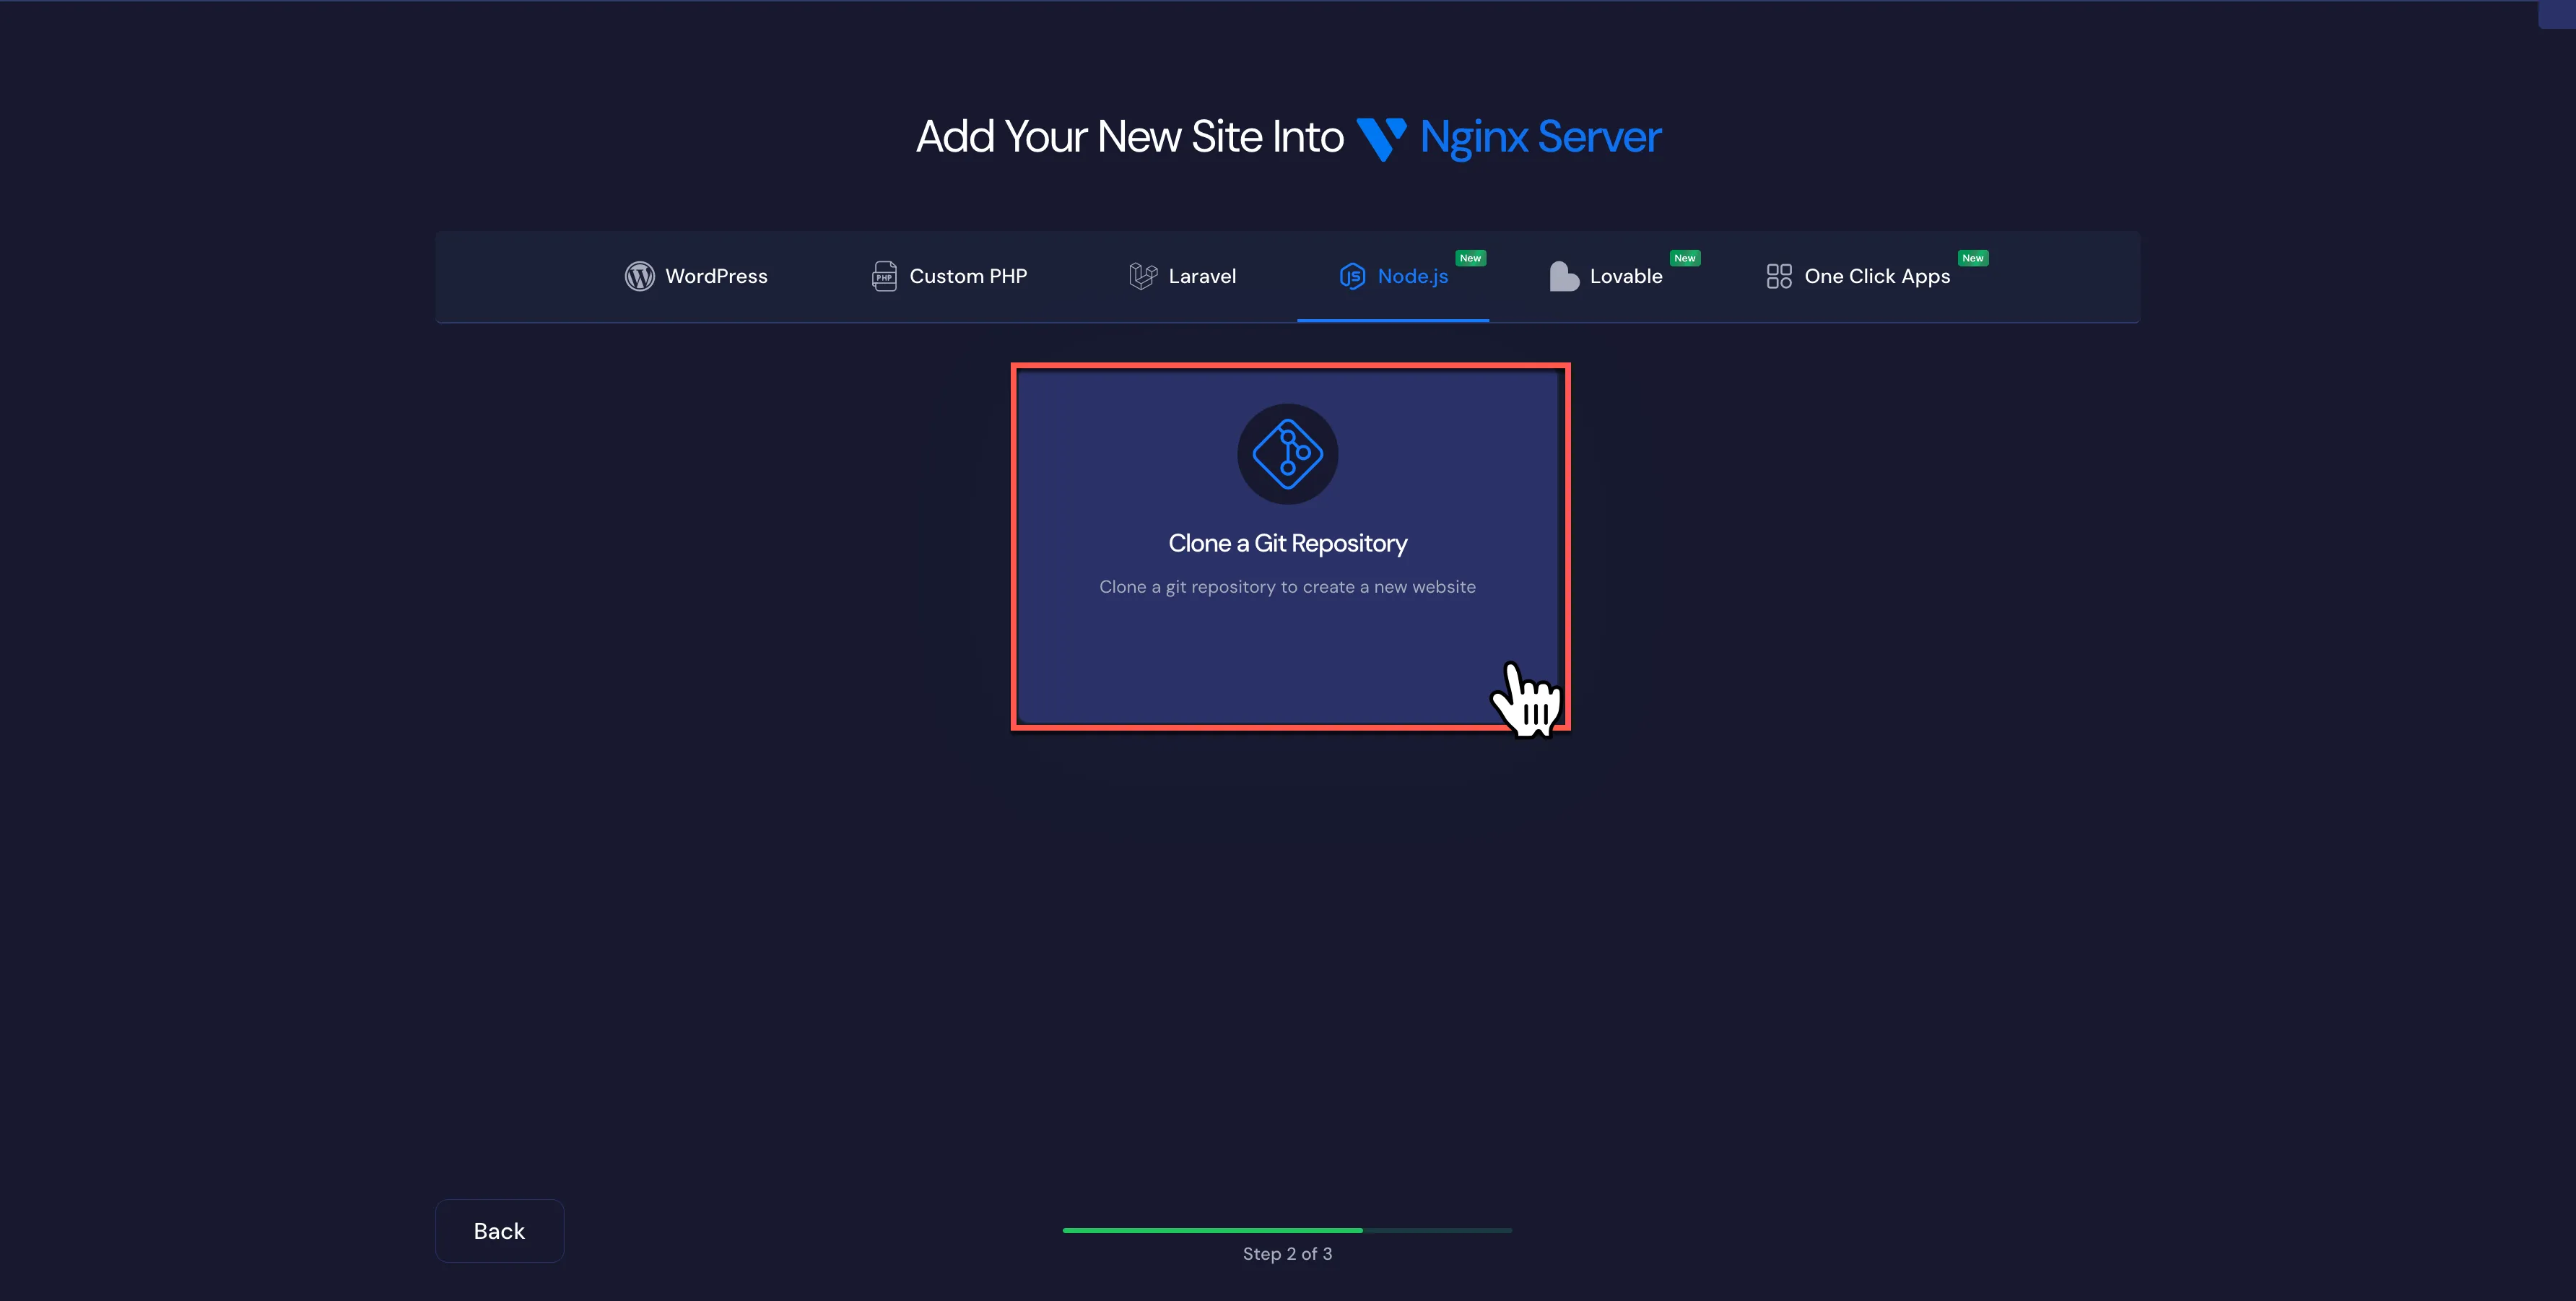
- Log in to your xCloud dashboard and select your server.
- Click + Add New Site.
- Select Node.js and then Clone a Git Repository.
- GitHub Integration: Use our native integration to browse your Private or Public repos. Select your project and the branch you want to track (e.g.,
main).
Step 2: Domain Management & Web Root
xCloud is designed to make domain handling intuitive. You aren’t limited to a single URL; you can scale your site’s identity with ease.
- Domain: Add your primary domain.
- Easy Management: From the site dashboard, you can easily add Additional Domains or a www version of your site. It handles the mapping automatically.
- Web Root: This is the most important step for Astro. Change the default path to point to
dist. - Database: Select No Database. Astro is built for speed and doesn’t require a SQL backend.
Step 3: Automate the Deployment
Let’s set up the “Push to Deploy” workflow so your server builds your site every time you commit code.
- Push to Deploy: Enable this toggle to generate your unique Webhook URL.
- Copy the Webhook URL: You’ll need this for GitHub.
- Deployment Script: The default works well, but verify it includes:
cd /your/site/path
npm install
npm run build
- GitHub Setup: In your GitHub repo, go to Settings > Webhooks. Paste the URL, set the content type to
application/json, and save.
Step 4: Pro Tools: Edge Caching & NGINX Safety
Once your site is live, you can leverage these specific xCloud features to optimize performance and reliability:
- Cloudflare Edge Cache: You can enable Cloudflare Edge Cache directly in the dashboard. This caches your Astro site’s static files at the network edge, ensuring global visitors get sub-second load times.
- NGINX Regeneration: If you ever need to reset your server blocks or if a configuration gets messy, the Nginx Regeneration tool is a lifesaver. It rebuilds your config files to a clean, optimized state with one click.
Key Features for Astro Developers on xCloud
As someone who works on the platform, I see how these specific features solve common deployment headaches:
- Seamless Domain Management: Easily add extra domains or
wwwredirects without touching NGINX config files manually. - Cloudflare Edge Cache: Native support to push your static content to the edge for enterprise-grade speed.
- NGINX Regeneration: A safety net that ensures your server configuration is always optimal and easy to recover.
- Native GitHub Integration: Eliminates the need for manual FTP or SSH pulls. It turns your VPS into a fully automated CI/CD pipeline.